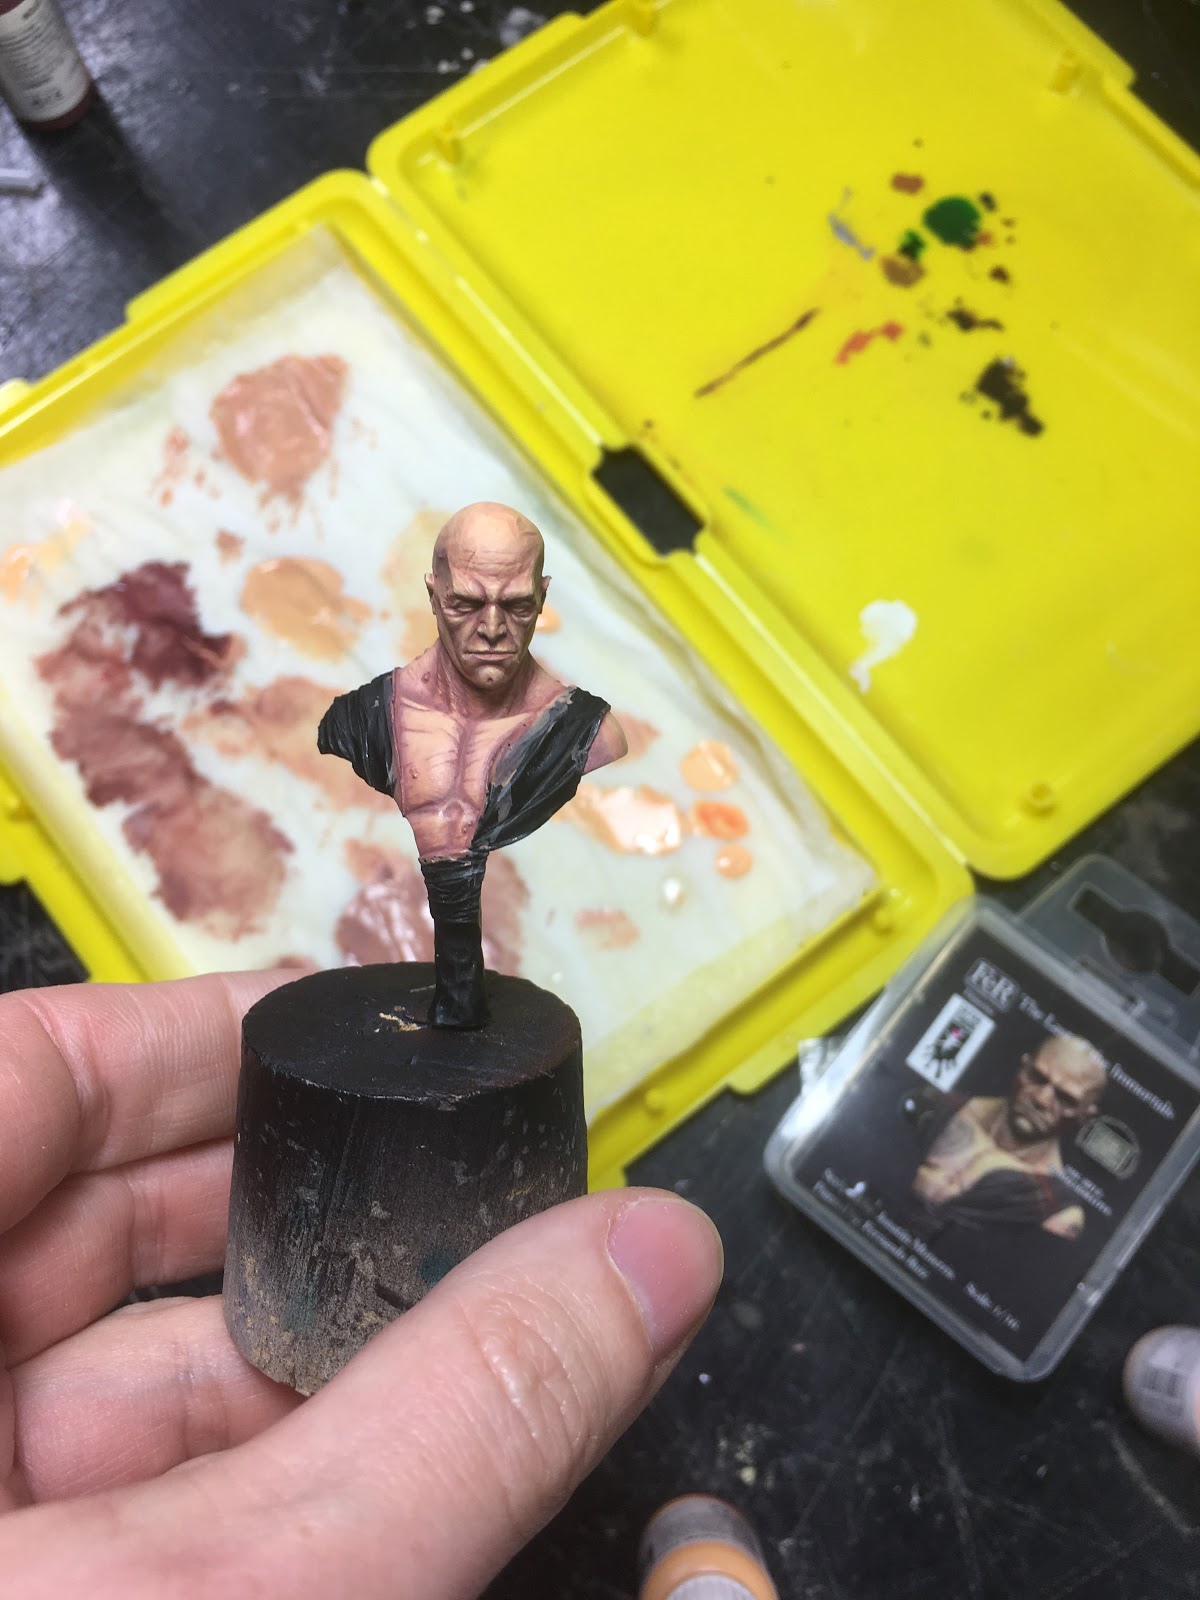
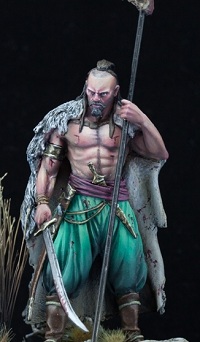
Fin janvier, j'ai eu l'honneur d'animer un workshop avec mon club Fig78. Le thème était le visage et la peau, en prévision d'un autre workshop avec Chris Clayton.... Un grand Merci à FeR Miniatures pour avoir fourni le support du stage : The Last of the Immortals. J'ai eu l'occasion de peindre déjà plusieurs fois ce buste. La peau est très texturée et donc un vrai challenge pour les élèves.
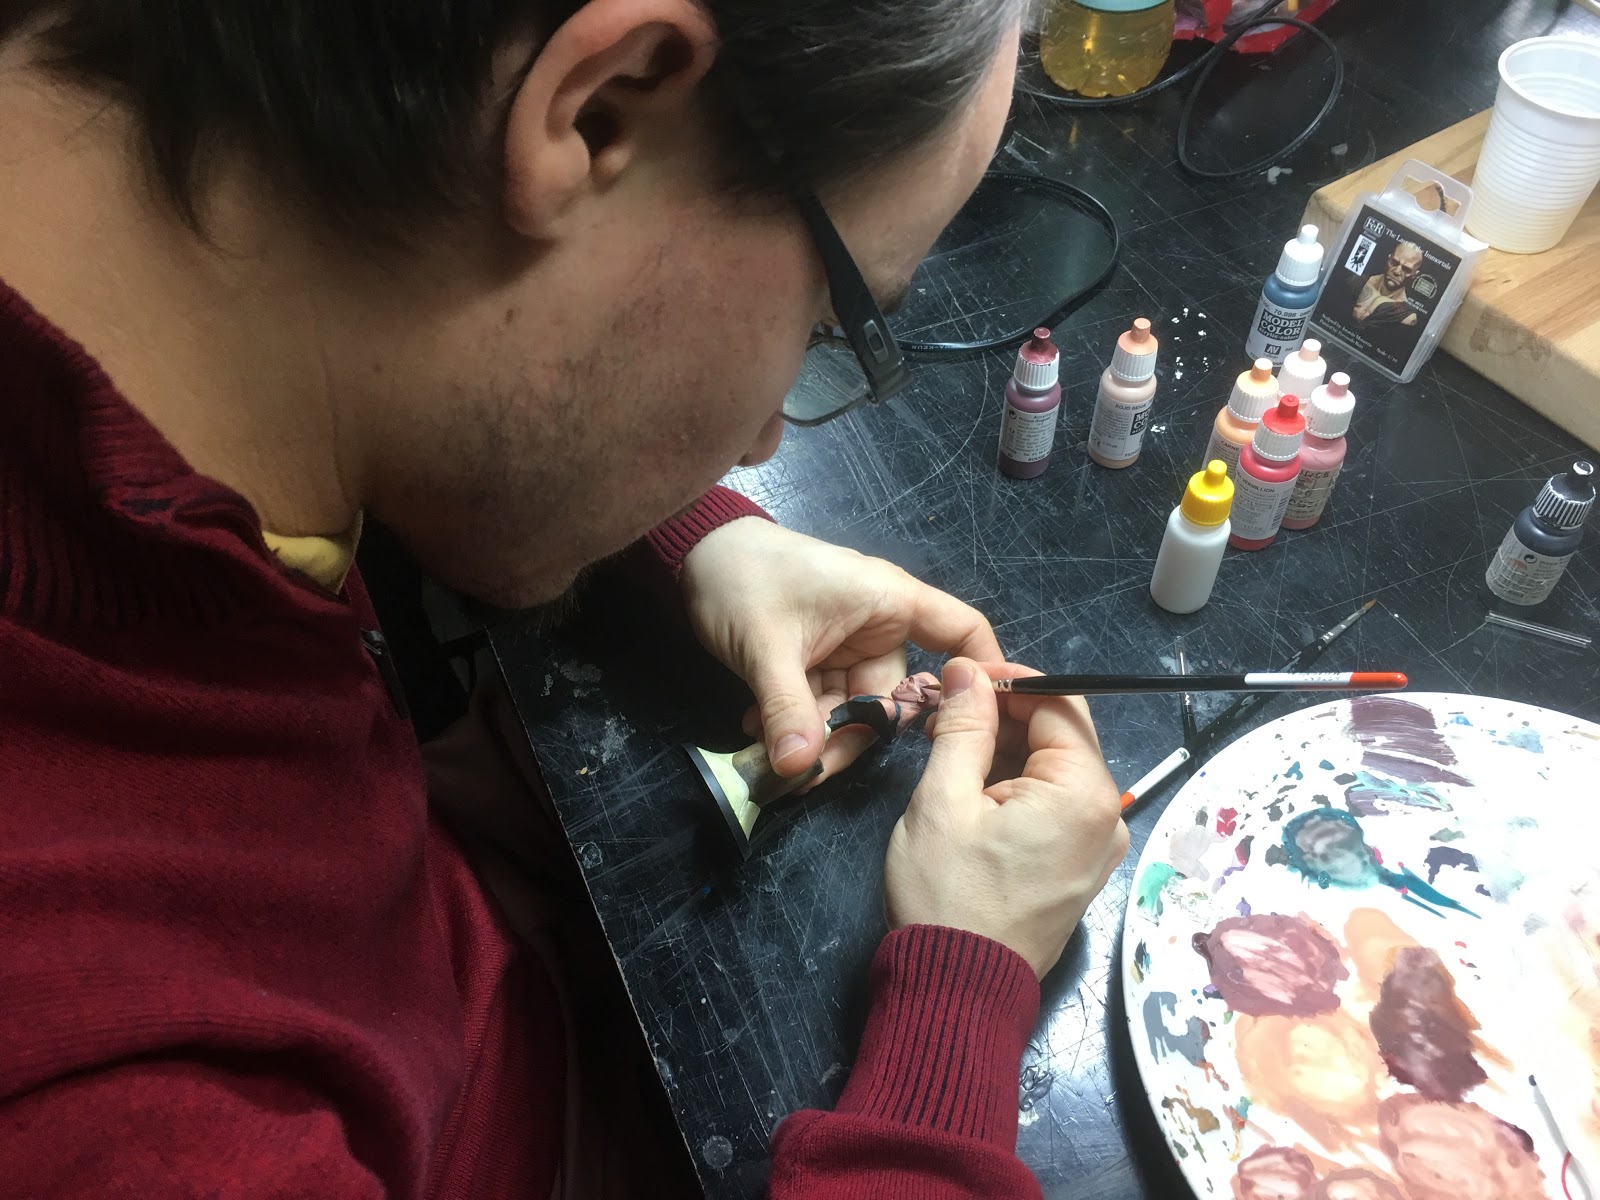
End of January, I had the honor to do a workshop for my club Fig78. The subject was face and skin, to prepare a futur workshop with Chris Clayton...
A great Thank you to FeR Miniatures who provide the bust: The Last of the Immortals. I had the chance to paint it several times. The skin is very textured. A real challenge for my students.
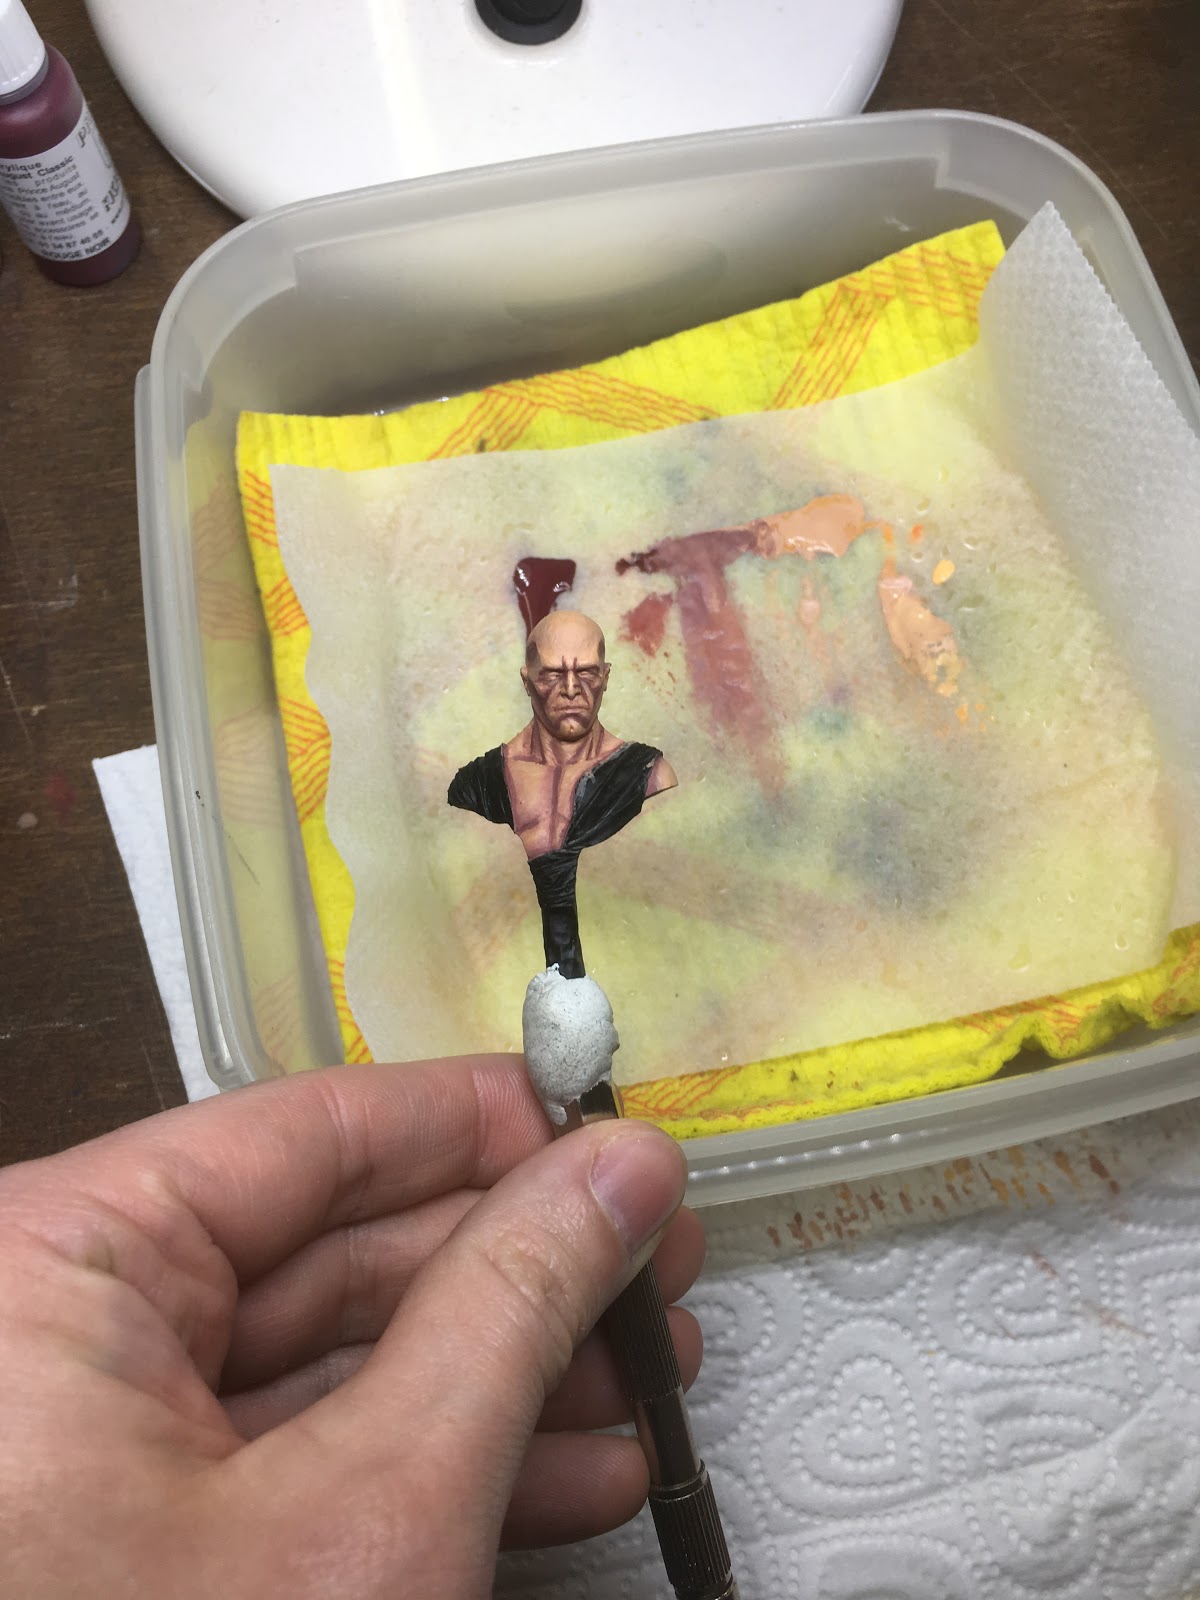
Pour le stage, j'avais préparé une version Black & White afin d'aider les participants dans la pose des lumières. J'ai préparé les couleurs pour le stage et ci-dessous, le test pour mes élèves.
For the workshop, I have prepared a Black & White version, to help the participants in the light building. I prepared the colors and below, the test for my students. Couleurs / Colors :
Rouge noir (859) - Black red
Beige rouge (804) - Red beige
Chair bronzée (845) - Sunny skin tone
Chair clair (928) - Light flesh
Rouge (947) - Red
Bleu marine foncé (898) - Dark sea blue
WiP
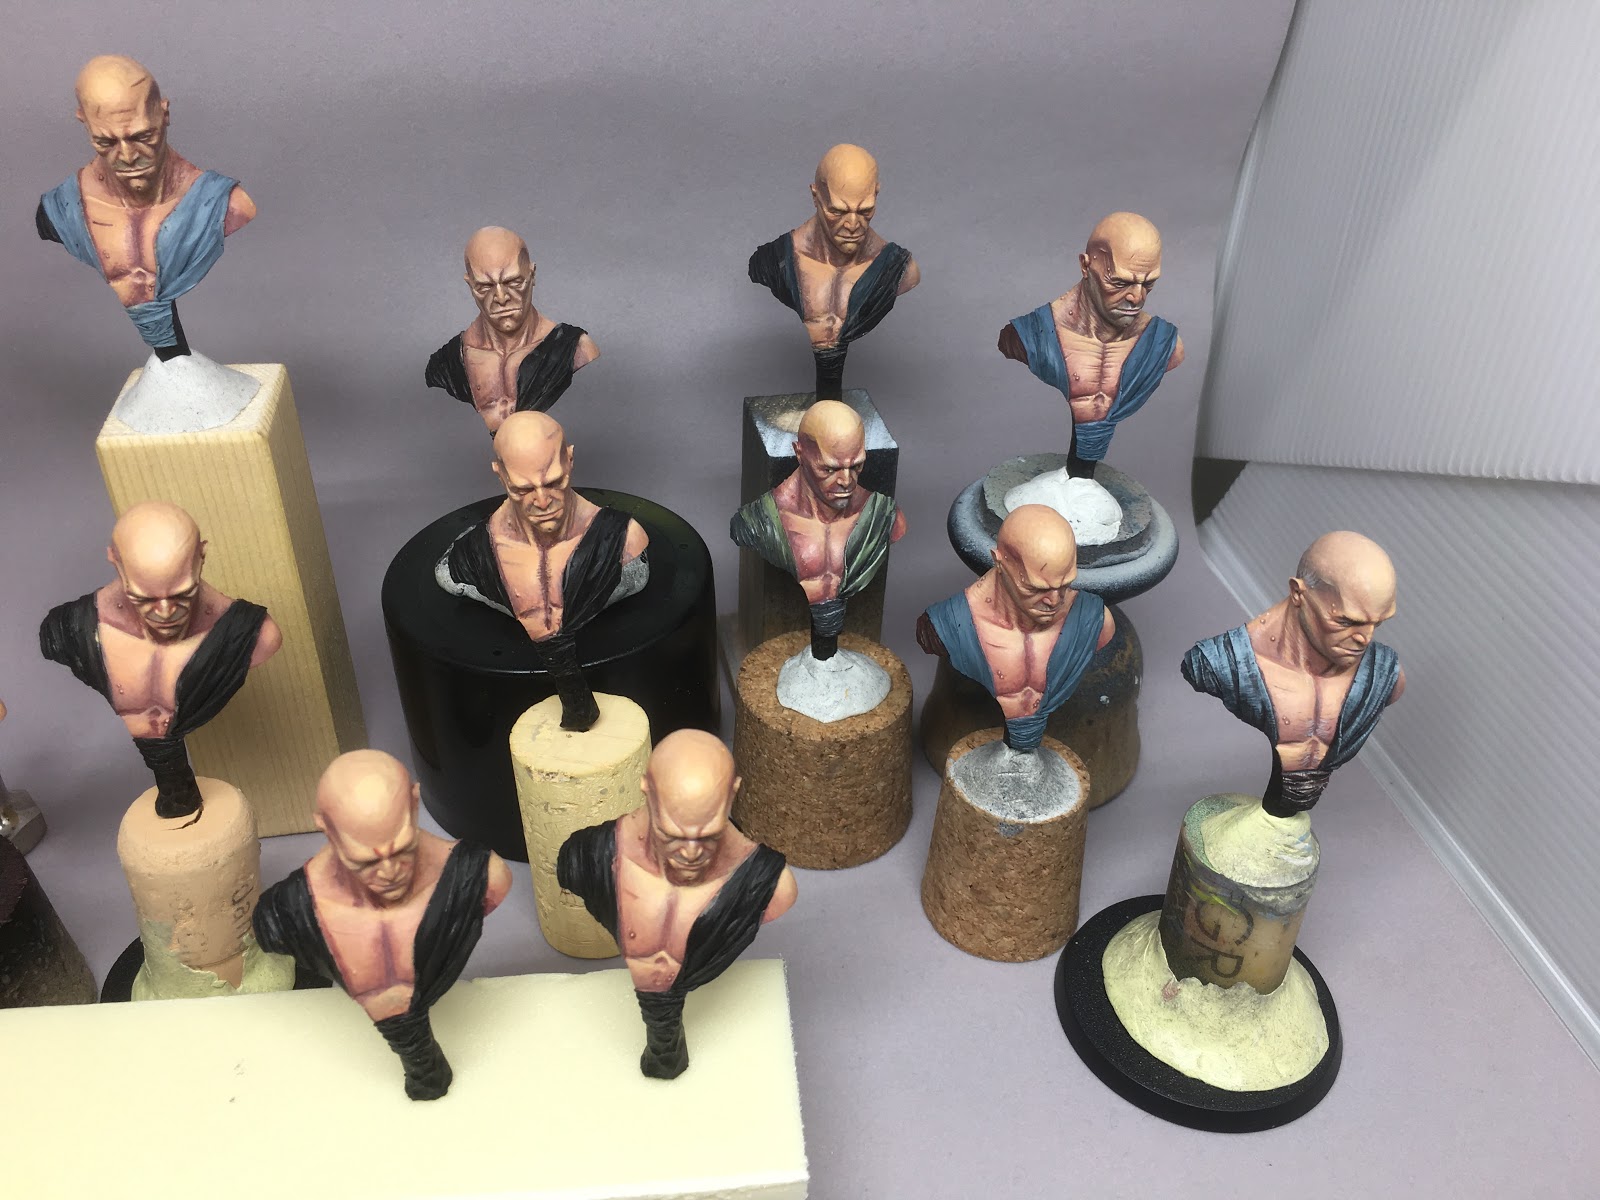
Début du stage qui va durer 2 jours, 15 élèves... c'est parti ! Start of the workshop, for 2 days, 15 students... let's go!
Première chose, apprendre à faire une belle couche de base, au pinceau, sur une base noire... Chaque élève applique au mieux les consignes et le résultat est très satisfaisant vers la fin de la première journée.
Firstly, learn to paint a good basic layer, with brush, on black coat... Every students try to follow my advices and the results are very good at the end of the first day.
Le lendemain, on reprend pour finaliser au mieux, selon les compétences de chacun.
The following day, more progress, according to skills of the students.
La version de Fred qui a participé au stage (lien ici). Fred's version who did the workshop (link here) Quelques photos supplémentaires du stage More pictures of the workshop
Merci à tous mes élèves qui ont été très assidus, avec des résultats et une forte progression pour tous. Bravo !
Thank you to all students who provided a hard work, with results and a real improvment for all of them. Congrats!
Récemment je me suis lancé dans la peinture du buste "LA HIRE" de Young Miniature, et ca ne m'a même pas traversé l'esprit de faire autre chose qu'un TMP pour celui la.
Le souci est ... Je n'ai absolument aucune idée de comment faire, car je fais quasi tout le temps du NMM.
Donc j'ai cherché l'inspiration.
Hi Guys, Recently I want to paint the huge bust "LA HIRE" from Young Miniature, and I did not think even a minute something else than TMP for this. The issue is.. I have absolutely no idea how to proceed, as I almost all the time use NMM. So I went first for inspiration .
old armor plate
Verdigris?
Here we go, found it !!
Je voulais que l'armure soit très endommagée, par le temps et les batailles.. Donc cette derniere image est vraiment ce que je cherche.
Avant de commencer sur ce buste impressionant de la Hire, j'ai décidé de commencer plus petit, sur un buste FeR.
J'ai séparé l'armure en deux avec du scotch de masquage, pour pouvoir essayer plusieurs techniques a différents endroits.
I want the armor really damaged by the time and battles... Thus the last pictures was really my target. Before starting this impressive bust "La Hire", I have decided to start smaller, on FeR miniature I split the armor using masking tape to try few methods on different places
first test !
Sur sous couche noire, j'ai utilisé un pinceau ou j'ai coupé les poils. En faisant des tapottages verticaux, j'ai commencé a créer la texture. On a black undercoat, I used small brush where I have cut the hair. Doing some vertical movements, I start to create the texture.
cut brush
C'est correct, mais le résultat est trop propre... bien sur il faut des glacis. J'ai utilisé des marrons, rouges, bleu... placant les tons sombres ou je veux moins de brillant. C'est vraiment plus simple sur sous couche noire, et encore plus si vous avez appliqué la texture métal sur les zones éclairées plus que sur les zones d'ombres
Cependant, après 2 tests, je trouve le résultat trop propre.. ma photo de référence est bien plus orange, rouillée, variable, raillée...
It's ok, but the results is still too clean... Of course I need glazes. I used brown, red, blue... pushing the dark tone where I do not want brightness. It's indeed easier when undercoat is black, and moreover if you have applied your metal texture more on the light, than in the shadow placement. However, after 2 tests, I find the result still too clean.. my reference picture has much more orange, rust, variations, scratches...
okayish.. but not enough
Allez on recommence sur le casque. J'ai alors décidé de commencer par des textures rugueuses colorées, avant de commencer les peinture métaux.
J'ai débuté avec du orange, marron et dark sea blue. Ce dernier concentré dans les ombres.
So let's start again on the helmet. I have decided then to start brushing roughly colors, before using mettallics. I start using orange brown, and dark sea blue. This last concentrated only on the shadows.
colored texture on helmet
rough texturing
Ensuite, j'ai rempli mon pinceau de métallique (acier PA), essuyé sur un papier, un peu comme du brossage a sec (un peu moins essuyé) et je tapote la surface verticalement sur le casque. J'essaye d'éviter un peu les zones vraiment dans les ombres, et je préserve par endroit mon orange placé précédemment.
Then I fill my brush with mettalics (steel PA), wipe it on paper, like for drybrushing (maybe a bit less) and hit vertically the surface of the helmet. Try to avoid a bit the shadow area, and preserve my orange below at some place.
much more textured
closer and closer to what I want
Je commence alors le boulot de glacis. Encore une fois, marron vers le bas, bleu, et j'ai ajouté de la rouille Modelmate à certains endroits. J'ai même essayé du vert de gris ...
Bien sur, au final, il faut ajouter des éclaircis extrême, avec de l'acier PA pur, et même du chrome PA.
Then the work using glazes starts. Again brownish from below, blue, and I have added some Modelmate Rust products at some place. I tried also verdigris here... Of course at the end, you might add some extreme highlights, using pure mettalic steel, or even chrome.
final results
my test result
ok not too bad
Voila le résultat final. Je pense avoir besoin d'adapter un peu la chose. Pour "La Hire" le vert de gris ca fonctionnera pas... Ou peut etre restreint seulement a quelques parties plus cuivrée que acier.
Here is the final result. I feel that I need now to adapt things. For "La Hire" Verdigris will not work well. Or maybe I will restrict here on some parts looking more copper than steel.
Alors ca repart :
- Sous couche noire,
mais aussi pre ombrée blanc au dessus par zones spécifiques de l'armure
que je voudrais plus claires à la fin.
So let's start again : - black undercoat, but also white from the top on specific armor part to render them brighter at the end
black and white undercoat
- Orange/bleu texturée en premier - Orange/blue texture first
principal color used
after applying colors
- J'ai utilisé Steel PA air + noir, et tapoté la surface avec mon pinceau raccourci, verticalement. J'ai découvert que l'impact de cette étape est plus frappant sur sous couche noire. Je vais devoir traiter un peu différemment les zones sous-couchée en blanc, avec plus de glacis a la fin. - I used steel mettalic from PA air + a bit of black and hit the surface with my shortened brush, vertically. I discover the impact of this step is way more stricking on black undercoat. I might have to treat the other white part differently using glaze afterwards.
with metallics
- Alors je commence les glacis. Sur les partie sombres, beaucoup de bleu passé, et coal black particulièrement. Je veux garder ces zones sombres.. très sombres avec un aspect bleuté. Les parties sous-couchées en blanc reçoivent plus de marron/rougeâtre - Then starts the glazing step. On the darker parts, I used quite a lot of blue, and coal black particularly. I want to keep those parts (black undercoat) very dark, with blueish aspect. The other parts have received quite a lot of brown/redish.
with glazes
lower ring bronze
- Derniers éclaircissements, avec Acier pur, puis Chrome. L'anneau du bas du gant a reçu un métallique différent, plus bronze, et j'y ai placé finalement du vert de gris, qui va bien mieux ici. - Last highlights using first steel, and finally chrome. The bottom ring of the glove have received a different metal, more like a bronze, and I place some verdigris there, which fits much better.
Voila le résultat final, j'ai encore besoin de finaliser un peu avec de la rouille, mais je suis confiant pour continuer les autres parties. J'espère que ca vous aidera.
Merci
Here is the end results. I still need to tweak it a bit with rust but I feel ok with continuing on the other parts. I hope it will help a bit. Thanks
Spécial Thanks to Jerome Otremba / Merci particulier à Jerome Otremba.