Affichage des articles dont le libellé est lumière. Afficher tous les articles

mercredi, mars 04, 2020

Posted by Anonyme On mercredi, mars 04, 2020

Salut les amis

ca fait longtemps que je n'ai pas écrit d'article, mais c'est pour la bonne cause, ce diorama a été riche en découvertes et travaux divers.
En premier lieu un rappel, le concept avec le premier article qui va bien : L'inspiration

Hello, friends.

It's been a long time since I've written an article, but it's for a good cause, this diorama has been rich in discoveries and various works.
First a reminder, the concept with the first article that goes well: Inspiration


L'idée et vous l'avez deja compris dans le premier post sur mon inspiration, est que ce diorama serait lumineux... réellement.
Donc la construction devait en tenir compte.

The idea, and you already understood it in the first post on my inspiration, is that this diorama would be luminous... really.

So the construction had to take that into account.
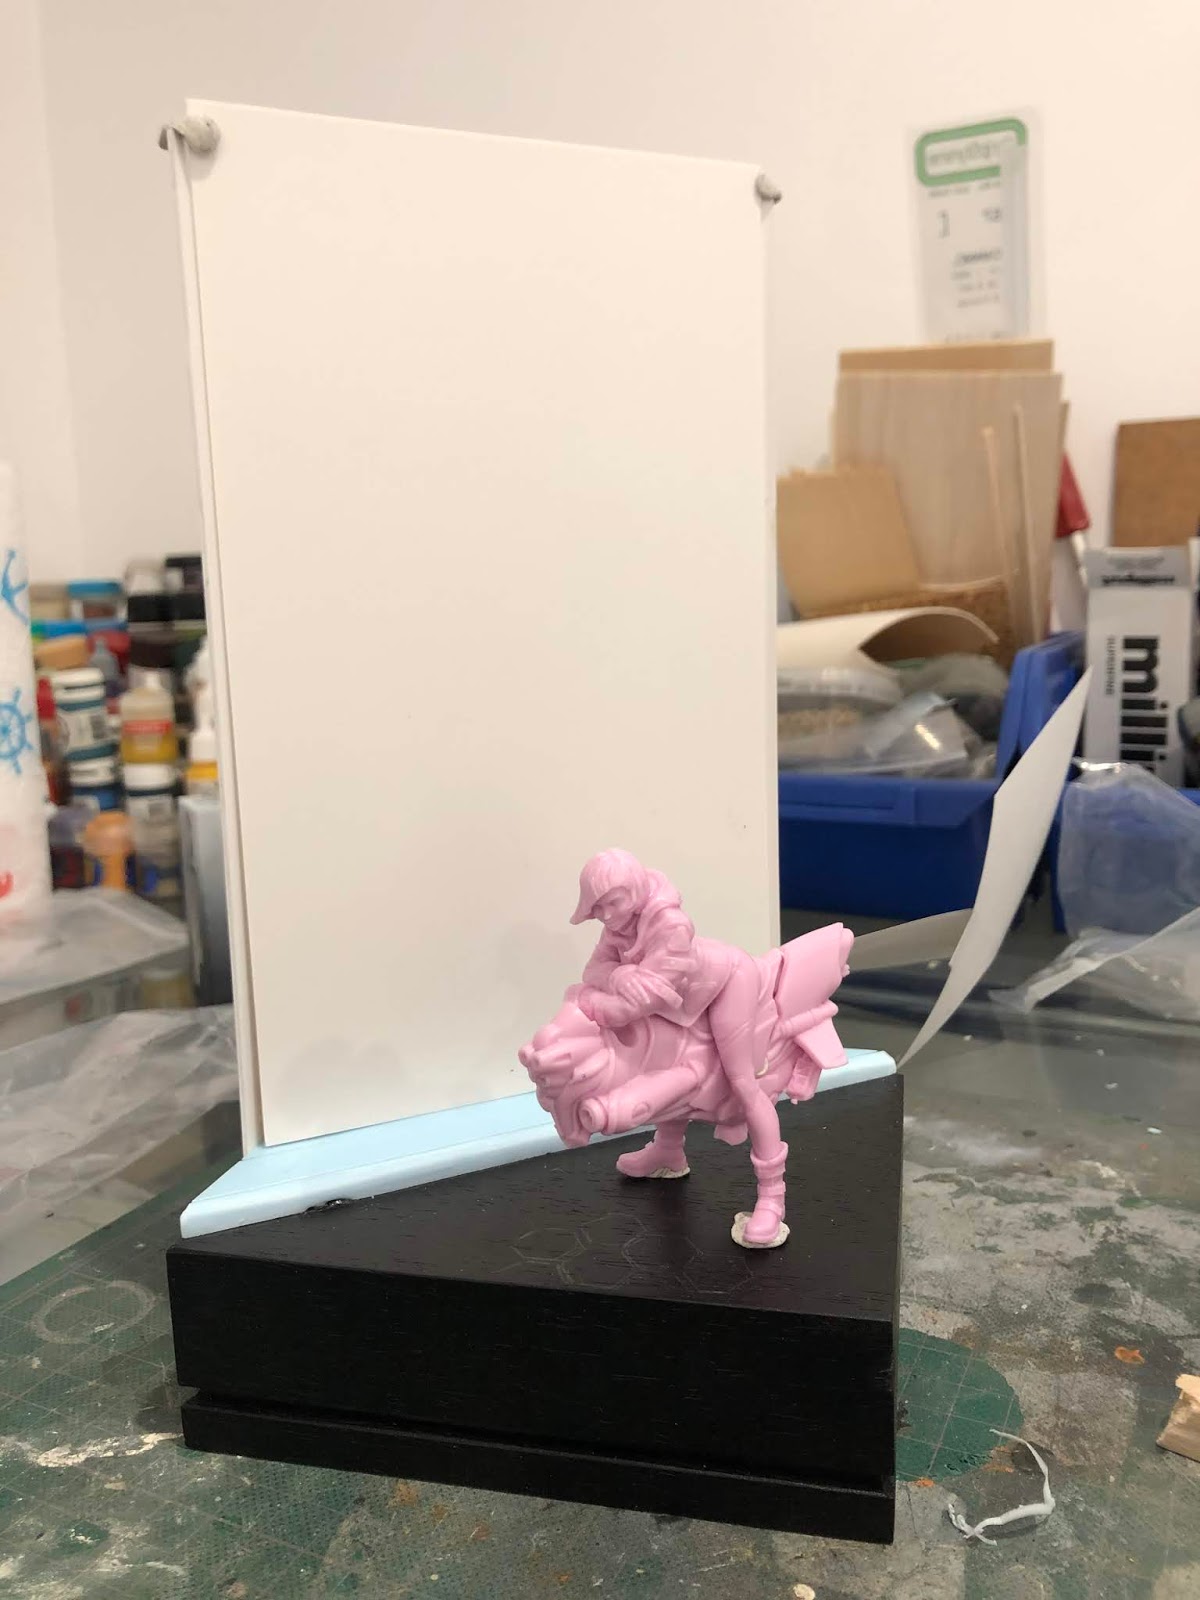


La construction classique, ca vous avez deja vu, donc je m'atarderai pas dessus.. de la carte plastiques, des pièces détachées etc...

MAIS, premier point ici, j'ai fait imprimé en 3D par mon ami Aurélien de chez Deep space factory, des pièces pour le dio.

The classic construction, you've already seen it, so I won't dwell on it... plastic card, spare parts etc...

BUT, first point here, I had my friend Aurélien from Deep space factorywho has printed in 3D, parts for the dio.


LA FACADE : FRONT VIEW


A force de fouiller dans mes tiroirs, de démonter un vieux PC portable, j'ai ajouté un peu de diversité à la facade...

By searching through my drawers, dismantling an old laptop, I've added a little diversity to the facade...

LE TOIT / THE ROOF:


Sur la base du concept, j'ai construit les éléments, ajouté des détails, et prévu la future enseigne. J'ai d'ailleur aussi voulu un sol hexagonal, que j'ai préféré faire imprimer aussi pour avoir un truc très propre.

Based on the concept, I built the elements, added details, and planned the future sign. I also wanted a hexagonal floor, which I preferred to have printed as well to have something very clean.

QUE LA LUMIERE SOIT / AND THE LIGHT COMES

Mon ami Seppun GK m'a filé un gros coup de main !! ce gars la fait des illuminations complétement dingues.. je ne révèlerai pas tout ses secrets ici ;) Mais il a fallu passer les cables, pour que de la lumière passe dans le hublot de la porte, dans la future enseigne, et aussi par un neon suspendu !!!

My friend Seppun GK gave me a big help !! this guy is making crazy enlightenment... I won't reveal all his secrets here ;) But it was necessary to pass the cables, so that some light passes in the porthole of the door, in the future sign, and also by a suspended neon !!!


Ca marche !!! il m'a fallu prévoir une trappe derrière pour pouvoir enlever les piles ! mais tout fonctionne et les choix de teintes fonctionne bien par rapport aux inspirations que j'avais trouvé en cyberpunk.

It works !!! I had to build a trapdoor behind to be able to remove the batteries ! but everything works and the choice of colors works well compared to the inspirations I had found in cyberpunk.

L'ENSEIGNE : THE SIGN

Encore une fois un super taf de Deep space factory

Another great job at the Deep Space Factory.



Le but a été ensuite de placer correctement les leds à l'interieur pour que la lumière soit homogène, non seulement dans les lettres mais aussi sur le liseret tout autour. Note pour plus tard, sous coucher avant de monter et de passer les LED ;)

The goal was then to correctly place the leds inside so that the light would be homogeneous, not only in the letters but also on the border and all around. Note for later, undercoat before building and bring the leds light ;)


LA PEINTURE : THE PAINT JOB


Comme vous pouvez le voir déjà sur les photos ci dessus, j'ai choisi de vieillir l'enseigne pour que ca fasse bien sale.. il me reste à l'éclaircir... puis des vieux pinceaux, des mousses, et plein de jus sur la façade et le toit... Mais le sol en hexagones, encore pas fini me rend fou !!

As you can already see on the pictures above, I chose to age the sign to make it look dirty... I still have to lighten it... then some old brushes, blister moss, and lots of glazeson the facade and roof... But the hexagonal floor, still not finished, drives me crazy !!!


En tout cas, a chaque étape de peinture, il me faut allumer le dio (ca fait bizzare de dire ca) pour voir comment cela évolue

Anyway, at each stage of painting, I have to turn on the dio (it feels weird to say that) to see how it evolves.


De nuit comme de jour, j'adore l'effet et l'ambiance.. c'est un des plus gros projets pour moi, sachant que je n'ai jamais autant utiliser de print 3D, jamais fait de vrai mise en lumière LED, et surtout jamais du peindre une figurine en pensant à une lumière non naturelle... pour l'instant ca me plait.. et vous??

Either Night or day, I love the effect and the ambiance... this is one of the biggest project for me, knowing that I've never used so much 3D print, never done real LED lighting, and especially never had to paint a miniature thinking about an unnatural light... so far I like it... and you??

lundi, janvier 06, 2020

Posted by Anonyme On lundi, janvier 06, 2020


Salut à tous

Tout commence par une idée.... et comme dˋhabitude chez moi par de la recherche d’inspirations... ici j’avais envie de faire un décors cyberpunk pour aller avec la figurine neko (voir le review de ce kit ici)

Hi to all

It all starts with an idea... and as usual for me, by looking for inspiration... here I wanted to make a cyberpunk set to go with the neko figurine (see the review of this kit here)


Avec ces images à l’esprit j’ai tout de suite pensé à préparer tout ça avec de vraies lumières ... pas des osl peints mais des led ou autres cachées derrière mon décors

J’ai eu la chance d’être mis en relation avec seppun Gk par un ami commun Jérôme Otremba .
Qu’elle chance !!! Ce gars là,est capable de mettre en lumière ses travaux figurinistiques avec un sens visuel et une technique géniale.
Sous sa supervision j’ai donc essayer de dessiner une peu ce que je voulais sur Procreate iPad.

With these images in mind, I immediately thought of preparing all this with real lights ... not painted osl but leds or other hidden behind my decorations.
I was lucky enough to be put in touch with seppun Gk by a mutual friend Jérôme Otremba.
What a chance!!! This guy, is able to highlight his figurative works with a visual sense and a great technique.
Under his supervision I tried to draw what I wanted on the Procreate iPad. 


Ce sera donc un travail combiné car il m’apportera sa connaissance des branchements électroniques pour arriver à cela.
Allez la suite bientôt pour la construction de la structure

So it will be a combined work because he will bring me his knowledge of electronic connections to achieve this.
Very soon the newt setp, construction !

lundi, mai 27, 2019

Posted by Olivier On lundi, mai 27, 2019

Bonjour et bienvenue à bord du Nostromo, là où personne ne vous entendra crier!
Nous en sommes en 2019, 40 ans après la sortie du chef d'œuvre de Science Fiction de Ridley Scott...
Vous l'aurez compris, cet article va parler de la conception de mon diorama Alien!

Welcome aboard the Nostromo, where nobody will hear you scream!
We are in 2019, 40 years after Ridley Scott's Sci-Fi master Piece...
You got it, this article will talk about the design of my Alien diorama! 


La conception

Dès le départ, j'ai eu envie de créer un diorama claustrophobique, avec un éclairage par leds pour en accentuer l'ambiance.

Ces choix là amènent donc plusieurs contraintes:
 -Un décor très fermé avec beaucoup de recoins est très difficile à peindre, donc il faut qu'il soit en plusieurs parties à assembler.

-Un éclairage leds nécessite un décor creux pour pouvoir y placer l'installation électrique (diodes, fils, pile...).

J'ai donc modélisé 70% du décor en 3D, afin de le faire imprimer, la partie restante étant réalisée en scratchbuild.

De petits aimants seront placés dans des trous prévus à cet effet, afin de pouvoir garder l'ensemble fermé. 

Design

At the begining, i wanted to creat a claustrophobic diorama, with a led lighting to accentuate the atmosphere.

Thos choices brings some problems:
-A close decor is hard to paint, so i need several pieces to assemble. 

-A led lighting needs an empty decor to put the electrical installation (battery, wires, leds).

So i 3D models 70% of the decor for a 3D printing. The rest is scratchbuild.

Little magnets will be put in holes designed for that, in order to keep the whole closed. 

Modélisation 3D du décor - 3D modeling of the decor

Le décor une fois imprimé - 3D print decor

La partie en scratchbuild du décor - Scratchbuilding of a part of the decor
Les pièces après sous-couche - Basecoat pieces

  
La peinture

Malgré la présence de leds, j'ai tout de même voulu créer une ambiance lumineuse par la peinture, pour faire en sorte que le diorama fonctionne éteint ou dans une pièce très éclairée. 
J'ai donc travaillé deux OSL, un orange simplement peint à l'aérographe, et un vert un peu plus détaillé.
Pour celui-ci, j'ai d'abord travaillé les tons en noir et blanc, sur lequel j'ai passé un voile vert à l'aérographe. Les zones les plus blanches deviennent donc vert intense.

The painting

Despite the leds, i wanted to create a light atmosphere by painting to make sure that the diorama works off or in a bright room.

So i worked two OSL, an orange simply painted with an airbrush, and a green one more detailed.
For this one, i first worked the black and white tones, on which i passed a green veil with the airbrush. The whitest areas become intense green.


Autre point qui me tenait à cœur, c'était de retranscrire la transparence du crâne du xenomorphe, comme dans le premier film Alien.

Another point that was important to me was to transcribe the transparency of the xenomorph skull, as in the first Alien Movie.


Pour cela j'ai utilisé une résine de glaçage, qui s'utilise comme la résine cristal, mais en plus épais. Une fois le mélange fait j'ai donc laissé un petit peu durcir la résine avant de l'appliquer minutieusement sur le crâne peint.

For that i used some glazing resin, thicker than the resin cristal. Once the mixture is done i let a little harden before applying it thoroughly on the painted skull.

L'alien en cours de peinture - The alien during the painting

L'alien après l'application de la résine - The alien after the resin
 

Après 5 mois de travail, voici les photos du diorama!

After 5 months of work, here is the diorama pictures!